Want to come home with Northern Lights photos you’re proud of? Here’s how to photograph the aurora, from the kit you need and the exact camera settings I used in Tromsø to focusing in the dark, shooting on your phone, timelapses and keeping your camera alive in the cold.
I’ve photographed the aurora in Iceland, in Rovaniemi in Finnish Lapland and in Tromsø in Norway, from outside my hotel in Iceland, through the glass roof of a cabin and from a snowy shore at Oldervik, where I watched dancing displays for two hours and ran timelapses the whole time.
The good news is that you don’t need to be a professional to get a great shot. You need the right settings, a tripod, a bit of patience and warm fingers. This guide uses the real settings from my own photos, so you can see exactly what worked.
Some links in this article may be affiliate links, which means we may receive a small commission, at no additional cost to you, if you decide to purchase through one of my recommended partners.
Quick-start settings
If the lights are out right now and you just need numbers, start here and adjust after your first shot:
- Mode: Manual (M).
- Aperture: As wide as your lens goes, ideally f/2.8 or wider.
- Shutter speed: 8 to 15 seconds. Shorter if the aurora is moving fast, longer if it’s faint.
- ISO: 1,250 to 3,200, depending on how bright the display is and how good your camera is in low light.
- Focus: Manual, set to infinity (see below for how to get it sharp).
- White balance: Around 3,500 to 4,000K, or auto if you’re shooting RAW.
- File format: RAW.
- Image stabilisation: Off when you’re on a tripod.
- Drive mode: A two-second self-timer or a remote, so pressing the button doesn’t shake the camera.
PS: Want to see what the lights looked like on my Tromsø trip? Watch this video!
The settings I actually used
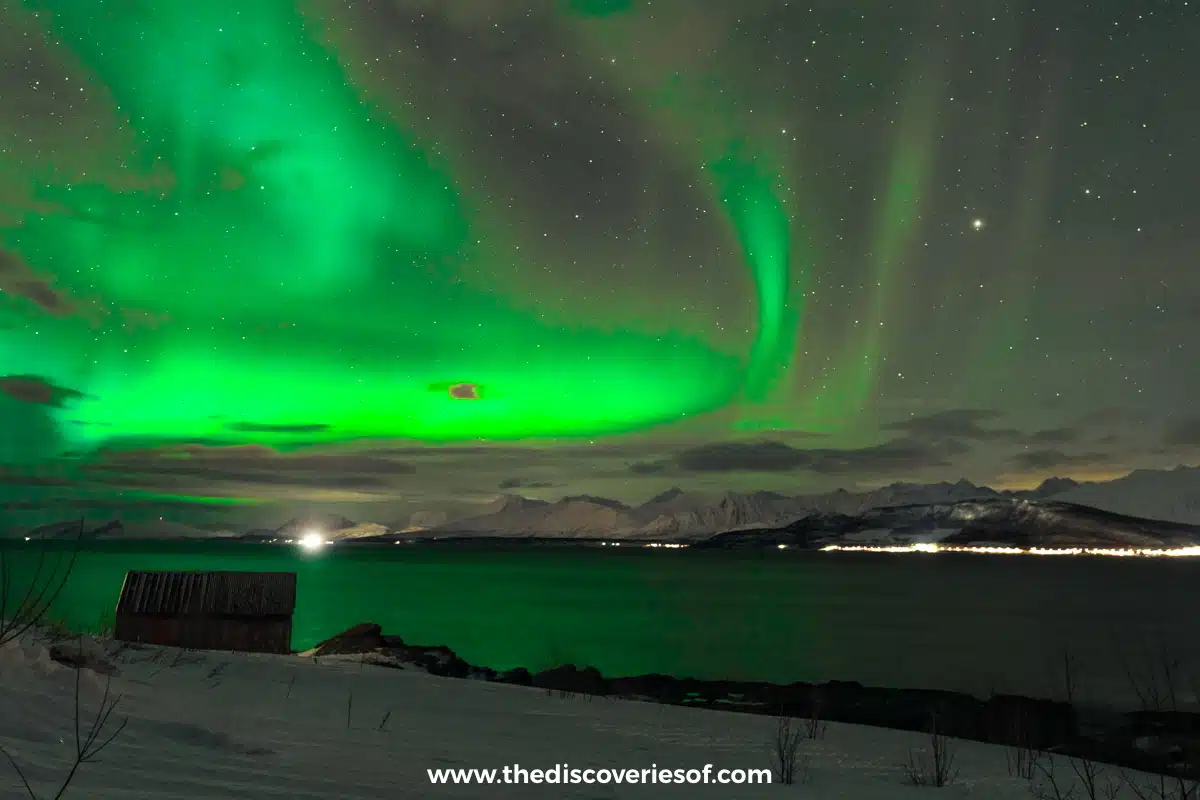
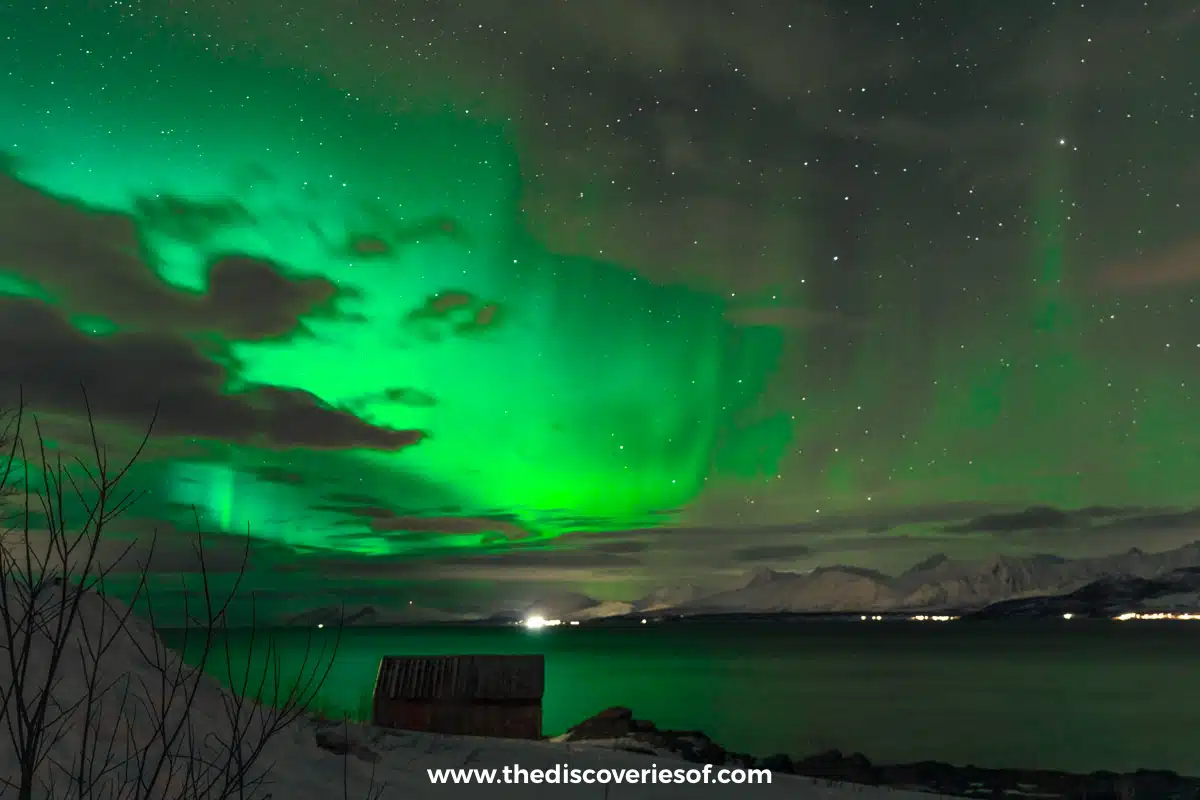
Every aurora photo from my Tromsø trip was taken on a Sony A7R V (a full-frame mirrorless camera) with the Sony FE 16-35mm f/2.8 GM lens, on my Manfrotto tripod. On my earlier trips to Iceland and Lapland, I shot on a Sony a6500, a smaller crop-sensor camera, with very similar settings. Here’s what the camera recorded on three very different nights out.
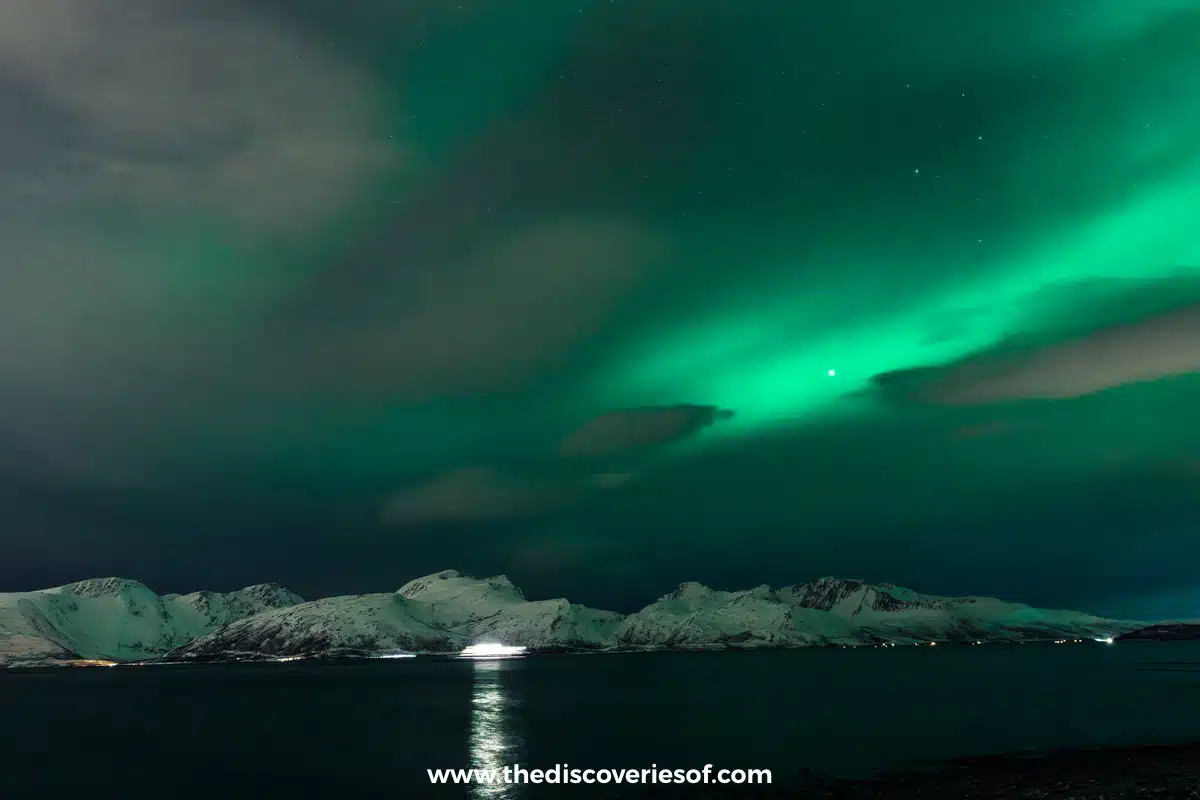
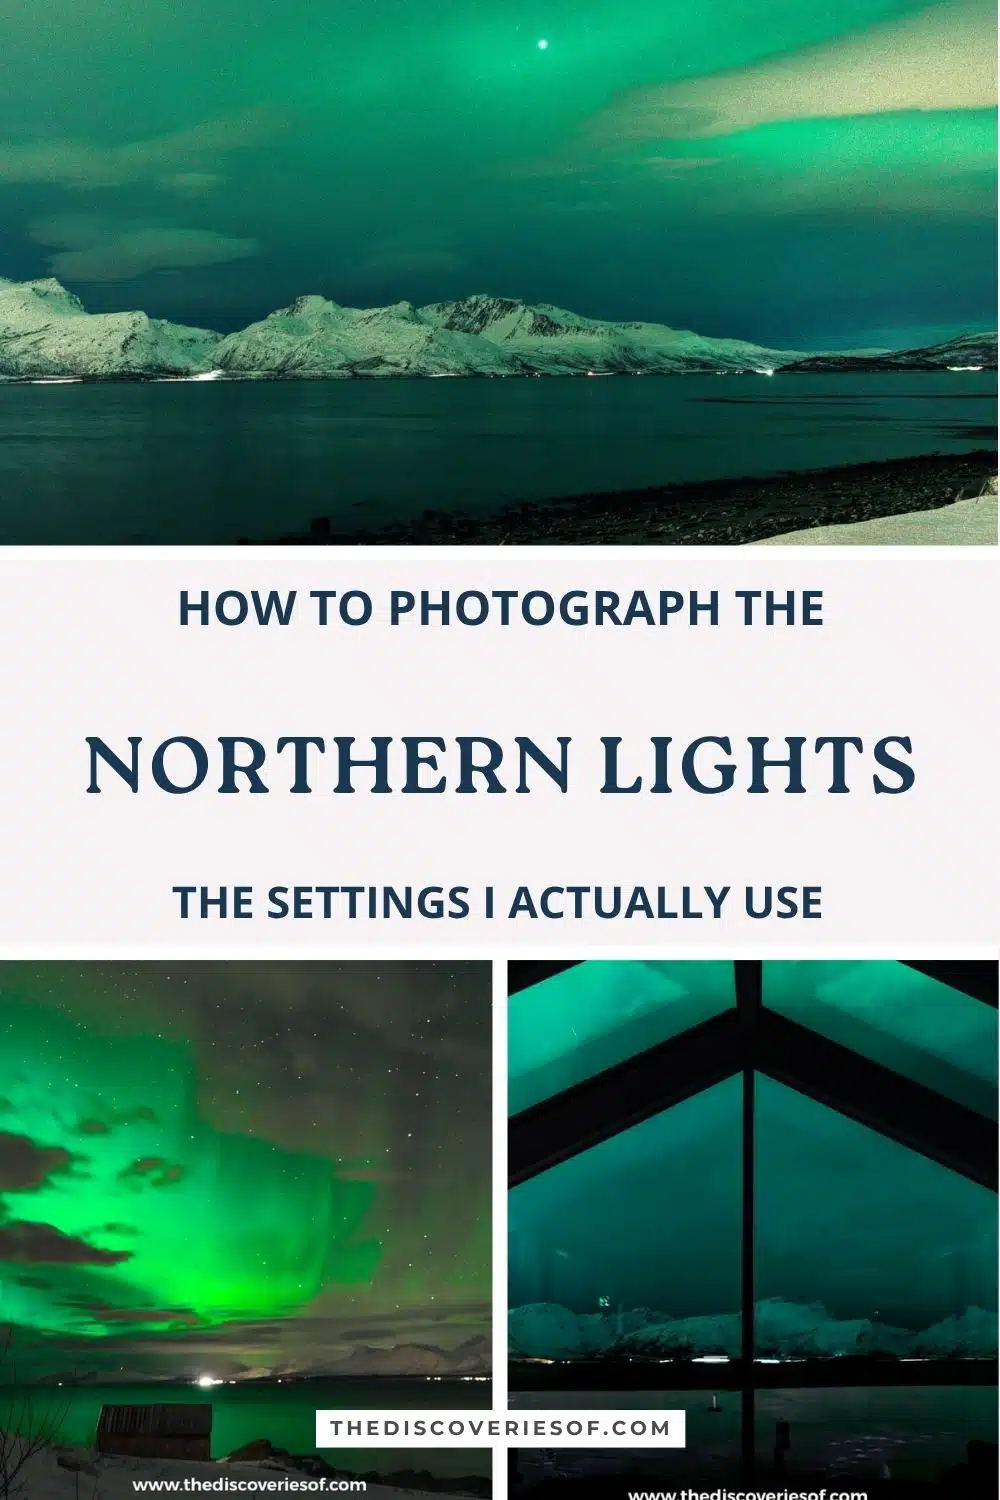
A strong, fast display at Oldervik: f/2.8, 10 to 13 seconds, ISO 1250, at 29 to 35mm. This was the big night. The aurora was bright and moving, so a fairly low ISO was enough, and exposures of 10 to 13 seconds held some shape in the curtains. Every shot in my Oldervik gallery sits in that narrow band: the only setting that changed all night was the shutter speed, between 10 and 13 seconds.
An earlier, softer show at Skittenelv, near ÆRA: f/3.5 to f/4, 8 to 10 seconds, ISO 2000, at 22 to 35mm. The lights were fainter and more diffuse, and the ISO went up to 2000 to match.
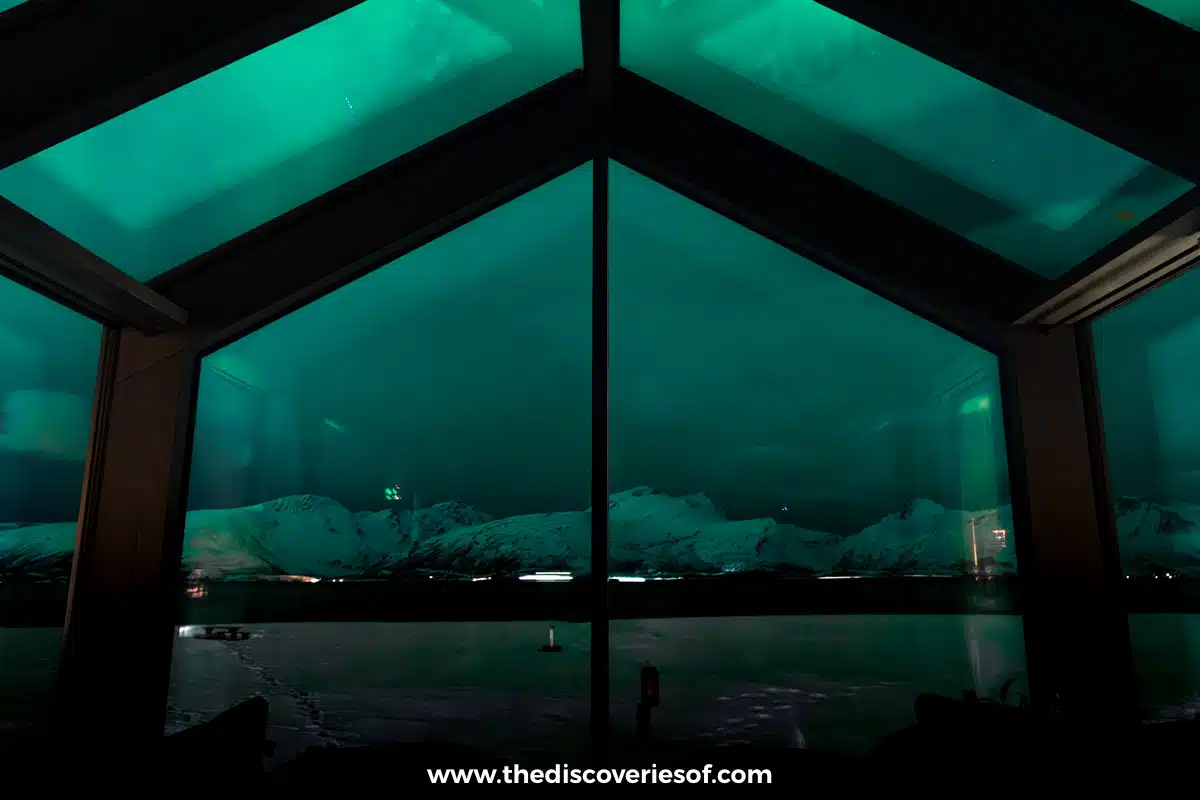
Through the glass roof of my ÆRA cabin: f/6.3, 15 seconds, ISO 2000, at 22mm. I set the camera up on a tripod inside the cabin, which is how I caught the first faint glow. Shooting through glass brings reflections, so turn off every light inside and get the lens as close to the glass as you can.
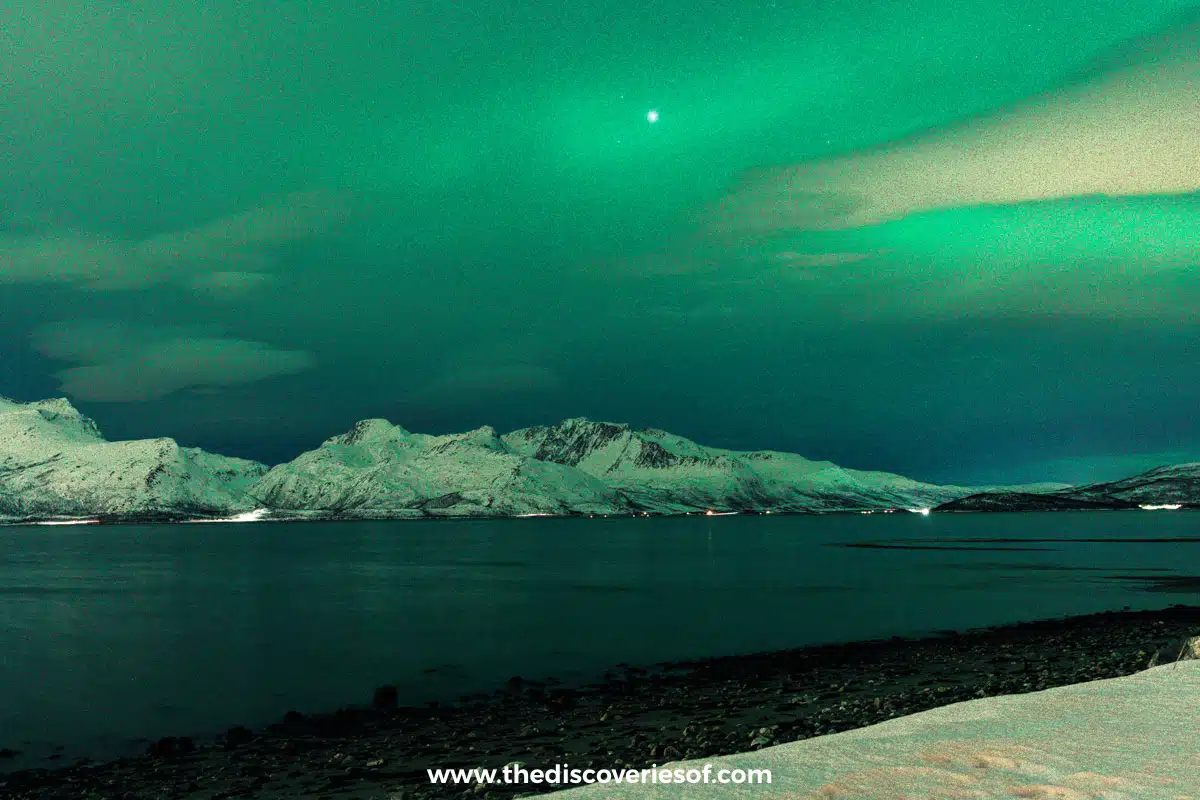
The lesson? There’s no single magic setting. Start at your lens’s widest aperture with around 10 seconds and ISO 1250 to 2000, take a test shot, look at it, and adjust.
What you need
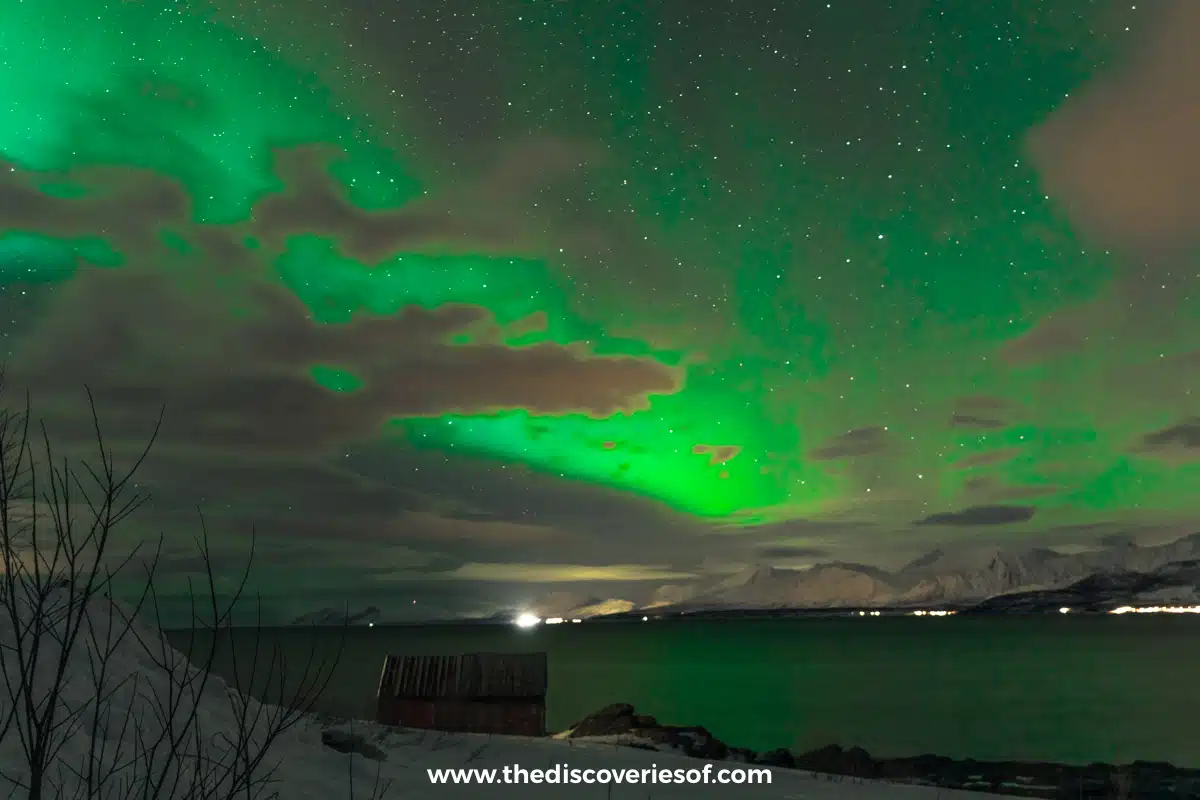
A camera with manual controls. Any camera that lets you set the aperture, shutter speed and ISO yourself will work: a mirrorless camera, a DSLR or even a good compact. Full-frame cameras handle high ISOs with less noise, which helps a lot on faint nights, but they’re not essential.
A wide, fast lens. Wide (around 14 to 24mm on a full-frame camera) lets you get the sky and the landscape in one frame. Fast (f/2.8 or wider) lets in more light, so you can use shorter exposures and lower ISOs. My 16-35mm f/2.8 covered everything I needed. Kit lenses that only open to f/3.5 or f/4 will still work, just with higher ISOs.
A sturdy tripod. This is non-negotiable for a camera. Mine is a Manfrotto. Exposures of several seconds need a camera that doesn’t move at all, and the wind in the Arctic can be strong. Spread the legs wide, push them firmly into the snow and hang your bag from the centre hook if there is one.
A remote or the self-timer. Even pressing the shutter button can blur a long exposure. A cheap remote or the two-second timer solves it. I connect my camera to my phone and use that as the remote.
Spare batteries. The cold drains them fast. More on that below.
A head torch with a red light. You’ll need light to fiddle with your settings, and red light doesn’t wreck your night vision (or everyone else’s photos).
Step by step: how to take the shot
1. Find a dark spot with a good view north
Light pollution washes out the aurora, so get away from towns and street lights. In the Northern Hemisphere, the aurora usually appears to the north first, although on strong nights it can fill the whole sky. Check the cloud forecast as well as the aurora forecast. My best Tromsø night came from spending most of a day mapping the cloud forecast on Windy and driving to the one patch of clear sky at Oldervik. My Northern Lights forecast guide explains how I do it.
2. Plan your foreground
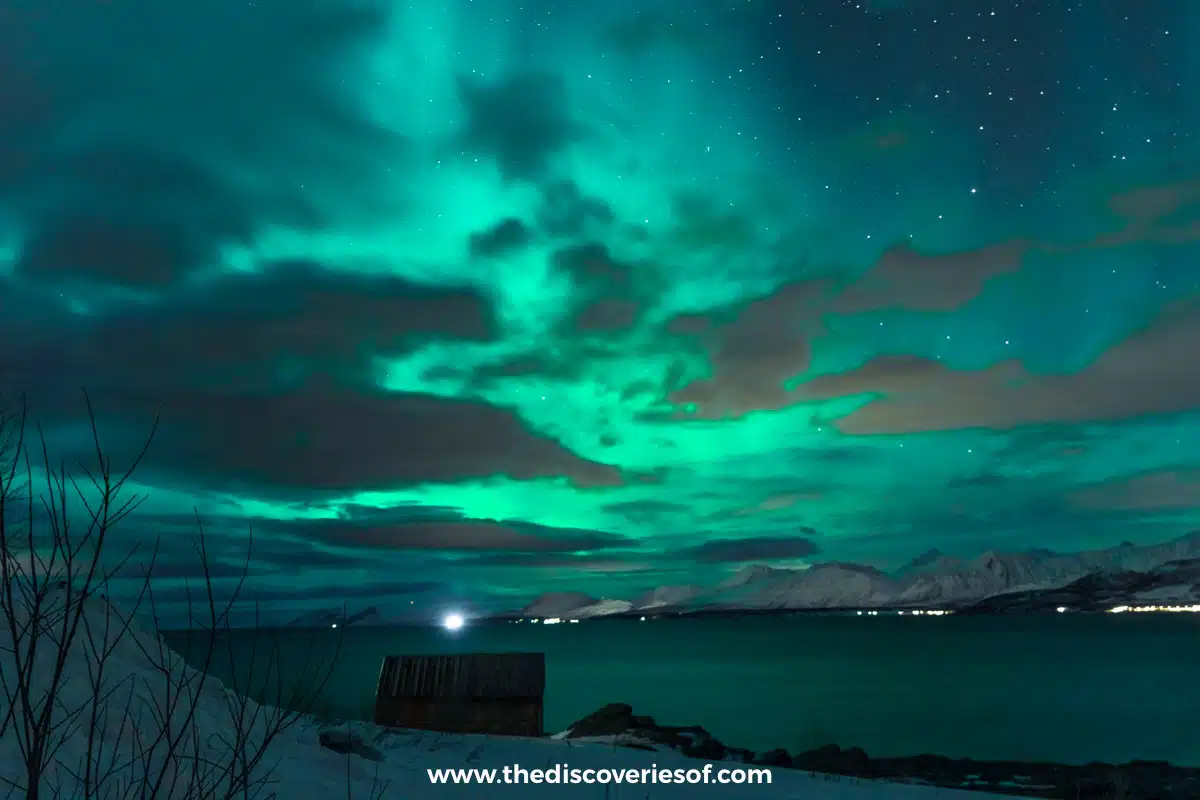
The aurora alone is pretty, but a photo with a foreground tells a story. Mountains, a fjord, a frozen lake, a cabin, a lone tree or a person all give a sense of scale and place. At Oldervik, the little red boathouse on the shore and the mountains across the fjord gave my shots a focal point.
If you can, scout your spot in daylight, so you know where the hazards and the best angles are.
3. Set up before the show starts
Get the tripod up, the camera on and your settings dialled in while you’re waiting. Fumbling with buttons in the dark with cold fingers while the sky explodes is no fun. The best displays can be over in minutes.
4. Nail your focus
Autofocus struggles in the dark, so switch to manual focus. Then:
- Turn on focus peaking or switch to the magnified live view.
- Point the camera at the brightest star you can see (or a distant light on the horizon).
- Turn the focus ring slowly until the star is a tiny, sharp pin of light.
- Leave it there. Some photographers put a small piece of tape over the focus ring so it can’t get knocked.
Don’t just turn the lens to the infinity mark. On many lenses, true infinity is slightly before or after the mark.
5. Take a test shot and adjust
Use the quick-start settings, take a shot and look at it on the screen, zoomed in.
- Too dark? Raise the ISO or lengthen the exposure.
- Too bright or washed out? Lower the ISO or shorten the exposure.
- The aurora looks like a smooth, shapeless green smear? Your exposure is too long for how fast it’s moving. Shorten it and raise the ISO to compensate.
- Stars look like little lines? Your exposure is too long for your focal length (see the rule of thumb below).
Your screen will look much brighter in the dark than it really is, so check the histogram rather than trusting your eyes.
6. Keep shooting
The aurora changes constantly. Shoot lots, try vertical and horizontal frames, zoom in on the most dramatic patches and then go wide again. And don’t forget to stop sometimes and just look up.
Shutter speed, star trails and moving lights
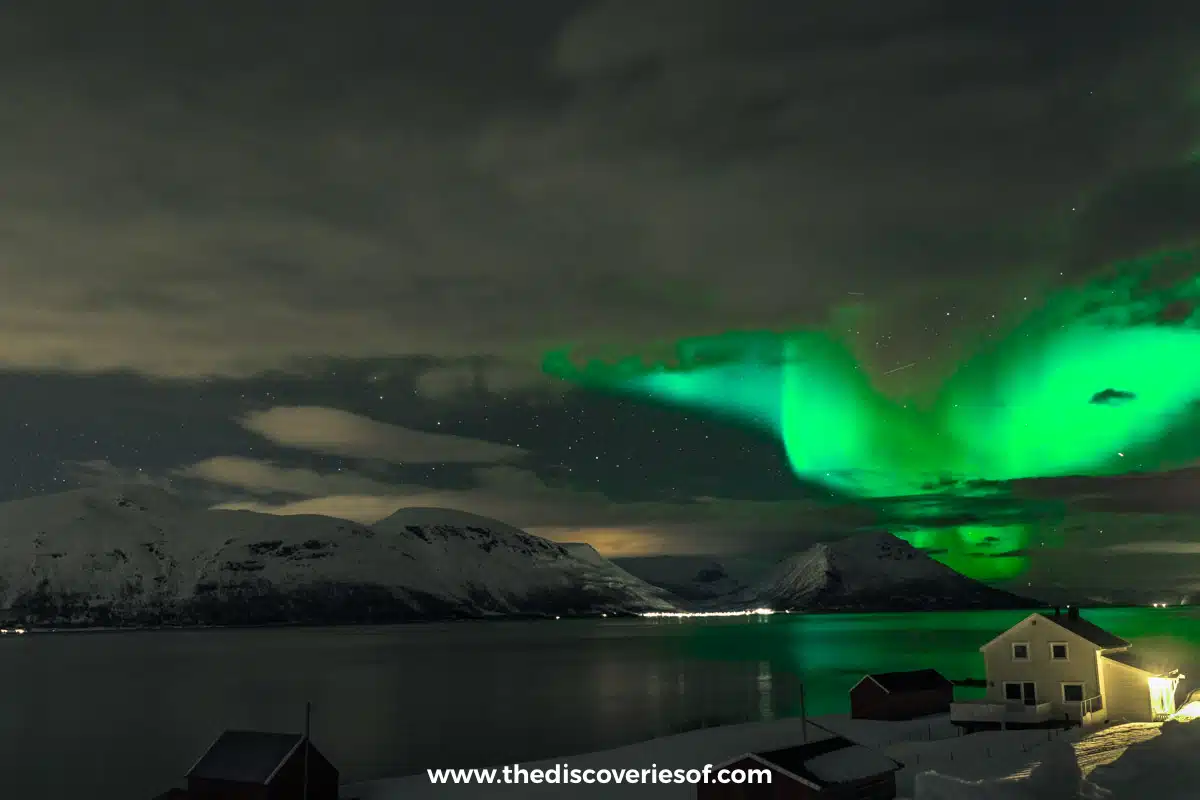
Shutter speed is the setting you’ll change most during a display.
When the aurora is faint and slow, longer exposures of 15 to 20 seconds help pull it out of the dark. When it’s bright and dancing, shorter exposures of around 2 to 8 seconds keep the detail in the curtains and rays. My Oldervik shots, at 10 to 13 seconds, sat in the middle because the display was bright but moving in big, slow sweeps.
The other limit is the stars. Leave the shutter open too long and the earth’s rotation turns them into short streaks. A popular rule of thumb is the “500 rule”: divide 500 by your focal length (on a full-frame camera) to get a rough maximum shutter speed in seconds. At 16mm, that’s about 30 seconds. At 35mm, it’s about 14 seconds, so my Oldervik shots, at 35mm and 13 seconds, sit just inside the limit. On a crop-sensor camera, multiply your focal length by the crop factor first. On today’s high-resolution cameras, you may want to go a bit shorter still for pin-sharp stars.
Getting the colours right
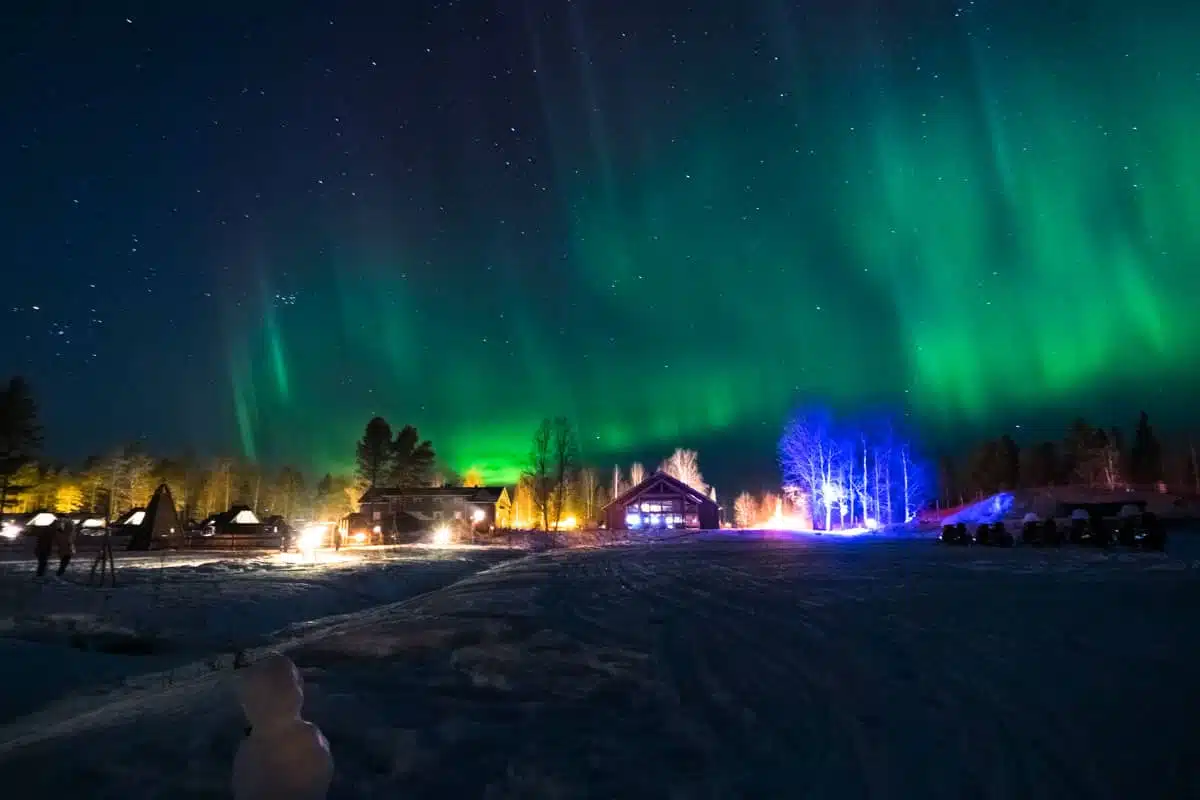
Here’s something that surprises a lot of people: your camera often sees the Northern Lights more vividly than your eyes. A faint aurora can look pale grey or whitish to the naked eye, but come out bright green on camera. At ÆRA, the camera is how I caught that first faint glow.
To keep the colours natural:
- Shoot in RAW. It keeps all the colour information so you can fine-tune later.
- Set the white balance to around 3,500 to 4,000K. Auto white balance can make the sky look odd, but if you shoot RAW you can fix it afterwards.
- Don’t overdo it in editing. It’s tempting to crank up the saturation, but neon-green skies look fake.
My Tromsø photos were edited in Lightroom Classic. Keep it gentle: a white balance tweak, a little noise reduction, a lift in the shadows for the foreground and not much else.
How to photograph the Northern Lights on your phone
Recent phones with a night mode can pick up the lights surprisingly well, especially on a bright night. To get the best from yours:
- Keep it still. Use a small phone tripod, or wedge the phone against a rock, a fence post or your bag. Night mode uses longer exposures when it senses the phone is stable.
- Turn the flash off. It will only light up the snow in front of you.
- Use night mode, or a pro or manual mode if your phone has one. Many Android phones let you set the shutter speed and ISO yourself. Try 5 to 10 seconds and ISO 800 to 1600 as a starting point.
- Tap to focus on a distant light or the brightest part of the sky, then lock the focus.
- Use the self-timer so tapping the shutter doesn’t shake the phone.
- Turn down your screen brightness so it doesn’t dazzle you between shots.
Phones have come a long way, but a camera with a big sensor and a fast lens will still win on faint nights.
Shooting a Northern Lights timelapse
At Oldervik, I ran timelapses while I watched. They show how the aurora moves in a way a still photo can’t.
A timelapse is just a long series of photos played back as a video. Most modern cameras have a built-in interval shooting mode (the Sony A7R V does). The basics:
- Use the same settings you’d use for stills, in manual mode, with manual focus and a fixed white balance.
- Set the interval to your exposure time plus a second or two. For a 10-second exposure, shoot one frame every 11 or 12 seconds.
- Shoot at least 250 to 300 frames. At 25 frames per second, 300 frames gives you a 12-second clip.
- Make sure your battery and memory card can handle it, and don’t touch the tripod until it’s finished.
Putting people in your photos
A person standing under the aurora gives a photo instant drama and scale. They just need to stand very still for the whole exposure, and the shorter your exposure, the easier that is.
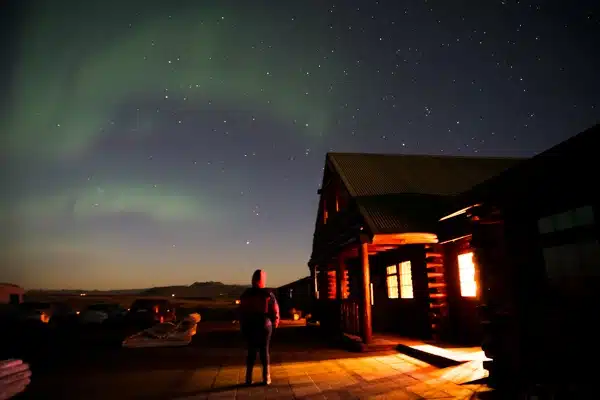
To light them, have someone briefly flick a head torch across them during the exposure, or let a little light spill from a nearby building, like the glow from the hotel windows in my Iceland photo below. A silhouette against the green sky can look even better than a lit face.
Looking after your camera in the cold
Batteries: Cold kills batteries fast. Carry two or three spares in an inside pocket, close to your body, and swap them as needed. A battery that seems dead will often perk up again once it warms.
Condensation: Bringing a freezing camera straight into a warm room or car makes it fog up, inside and out. Before you go inside, put the camera in a sealed plastic bag or your camera bag and let it warm up slowly. Don’t open it until it’s at room temperature.
Frost and dew: Don’t breathe near the lens. On damp nights, a lens hood helps, and serious aurora photographers use small lens heaters to stop the front element frosting over.
Your hands: Thin touchscreen gloves under warm mittens let you work the buttons without freezing. There’s more on staying warm in my guide to what to wear to see the Northern Lights.
Join a photography tour
If you’d rather not drive in the Arctic at night, or you’d like some help with your settings, a small-group aurora tour is a great option. Guides know where the clear skies are likely to be, and many will help you set up your camera, take portraits of you under the lights and send you their photos afterwards.
From Tromsø, this small-group aurora chase includes a free aurora portrait and the guide’s group photos, and the guides give tips on ISO, exposure, focus and white balance. Thermal suits come with the minibus option.
Common mistakes to avoid
- Leaving autofocus on. The camera will hunt in the dark and miss the shot.
- Forgetting to turn off the flash.
- Exposures that are too long for a fast display, turning the curtains into a green smudge.
- Trusting the screen. It always looks brighter in the dark. Check the histogram.
- Not bringing spare batteries.
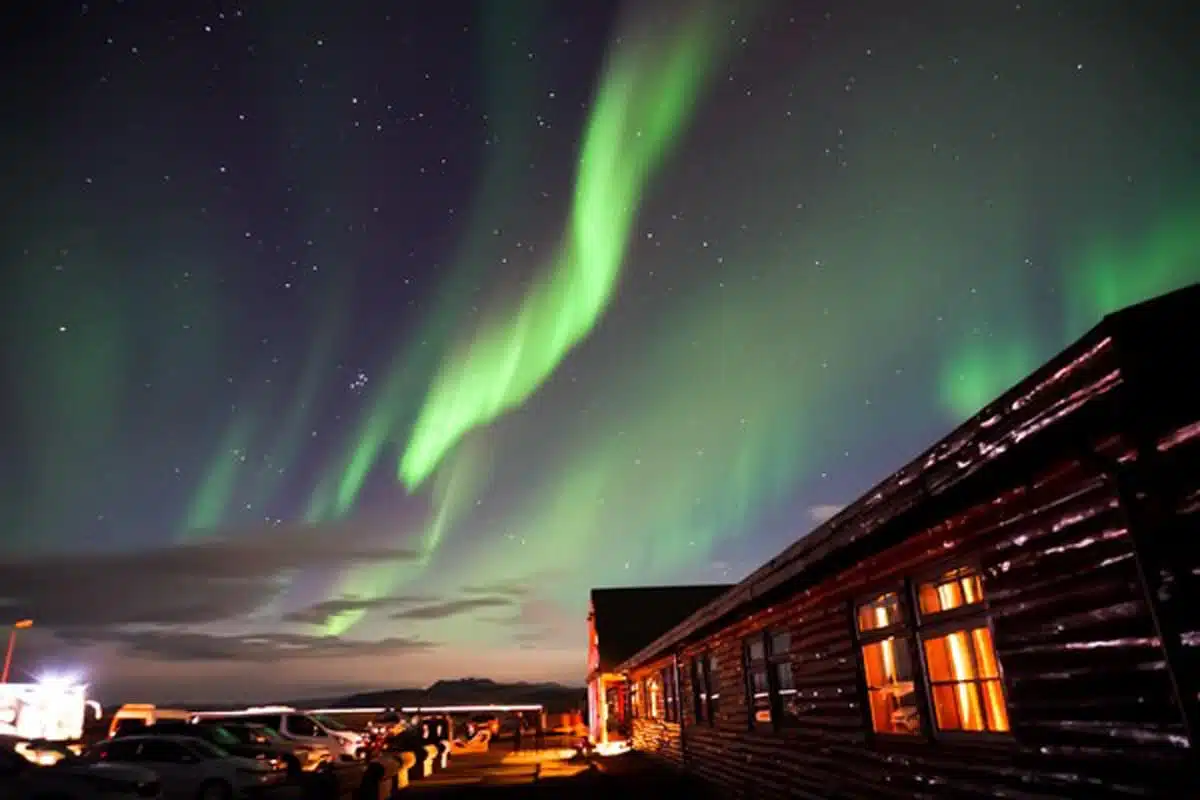
- Packing up too early. The aurora often fades, then comes back stronger. At Hotel Rangá in Iceland, the lights disappeared around 1am and came back a couple of hours later.
- Forgetting to look up. The photos are wonderful, but the real thing is better.
Read more Northern Lights guides
- How to see the Northern Lights: my top tips
- How to read a Northern Lights forecast
- What to wear to see the Northern Lights
- Chasing the Northern Lights in Tromsø
- ÆRA Tromsø hotel review
- When’s the best time to see the Northern Lights?
Love This? Save and Share on Pinterest
Discover the top things to do, insider tips and hidden gems in our Tips & Thoughts.
Read the guides →